DIY: Uncrustables – save the money!

DIY Uncrustable
DIY Uncrustable
Yummmmmmmmmmmmmmmmmmmmm

The home made uncrustable. Why pay $4 a box (about 1$ a sandwich) when you can just make it yourself. Reality is: it tastes the same, and you can do so much more. I personally like whole wheat, and avoid white bread when possible. You gotta have the fiber!
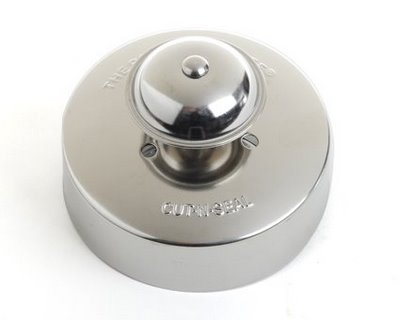
CutnSeal
CutNSeal

Dont want colon cancer one day (or hemorrhoids or constipation for that matter). Eitherway; I scoured the internet for a while looking for other “sandwich sealing” and “decrusting” devices. I came across one device from the Pampered Chef. From my earlier post I linked to a page the showed you how to make your own uncrustable as well [http://jonandlaura.blogspot.com/2009/04/im-in-love-with-cut-n-seal.html]

I really didnt want to fork over $10.00 (not including shipping) for this contraption. Let alone my biggest issue with this device… IT WASTES SO MUCH BREAD! Being circular… and most bread loafs are… well not.
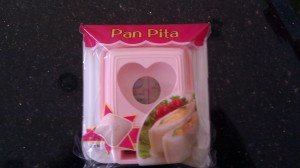
Pan Pita
Pan Pita: Sandwich Press and Seal and Decruster

I wanted something that was lest wasteful. With a lengthy google search I finally came across this one from Japan. I purchased it on amazon.com for about $3 and some, with free shipping. I actually later found it at my local Japanese Grocery Store to be about a dollar less, but after you add tax, meh. evens out.

Wonderbread made one too, but I didnt like the way it looked. I tried to find one that would make a shape of a penguin, but didnt really find anything.

Looking at the back of the package, there were some instructions in Japanese with pictures. You dont really need instructions to figure out how to stick some bread inbetween this device and press, but the pictures did give me some great ideas about making some ham and egg sandwiches (like you find at the Asian bakeries- at least the ones in Asia). For the purpose of this post, I am just going to stick with PB&J.

Instructions

That said, I will do my step by step instruction for making my own uncrustables.

Pan Pita - decrusting and sealing device
1. open it up
2. Get the bread/PB/J
3. Stick the PB&J in the center and the loaf centered on the device

Here I like to get a little wild (though it is now demonstrated in the photo) and get the PB and J all the way to the edge. I figure that once I cut the crust off, I dont want to waste it, so I am going to eat it anyway. Might as well have some PB&J on it already.

4. Stick the other side of the bread on top
5. Place the top part on and PRESS!
6. Peel crust off
7. Take top off (the device not yours)
8. Voila - Done
9. Place in sandwich bag and freeze.
DIY Uncrustable
Yummmmmmmmmmm

What I did the first day I tried it was I used a whole loaf of whole wheat bread. Made some uncrustables, placed them in a baggies and threw them in the freezer. For one thing, this will keep my bread from going stale. I usually eat a whole bunch, then forget about the bread. Then the bread goes bad.

At least this way it will be preserved better. Just like the Smukers Uncrustabels, when you want to eat it, take it out of the freezer, let it sit for about 30-4o min. Then voila. Chomp down as one would on the left. I figure when ViviBear goes to school in about 5 years from now, I can have her take PB&J with her. I wont have to wake up extra early just to make her lunch. What a great money saving time saving idea!!! I also figured each time I make the sandwiches from a whole loaf, I’d be able to just eat the crust as my lunch or what not. I’d hate to waste all that crust. I never understood why people hated the crust so much. I actually like the crust.

So with my stash of PB&J without crust sandwiches, I had some snacks premade for the next few days. I noticed each time I checked them out, my stash was slowly disappearing. Turned out MommyMD was taking them to work to eat. Well someone is eating it.

Overall review of the Pan Pita: Cheap. Easy to clean. easy to use. Some bread (if smashed a bit) will not fit perfectly, and you may have some residual crust. I’d rather have that than waste too much bread as you would with the Pampered Chef CutNSeal. Buy one if you want to be lazy like me and premake the PB&J. When I showed this to my mother her response was: why are you so lazy? Just make the sandwich when you want it. meh…

Mango Mojito

Mango Mojito

I love mangoes, and what’s better than a Mango Mojito?

You will need:

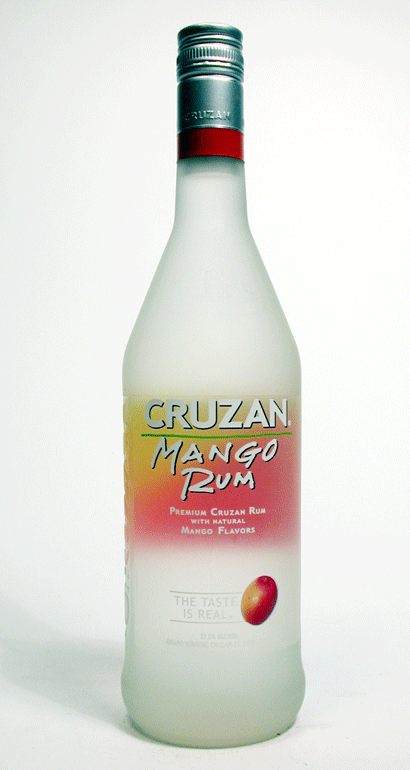
  • Mango Rum – I personally like the Malibu for some reason, but it depends on your pref.

Malibu Mango RumCaptain Morgan MangoCruzan Mango

  • Diet Sprite – I like to use diet sprite instead of the tonic water
  • Mint Leaves
  • Lime

Mix 50/50 Diet Sprite with the Mango rum, throw in a mint leaf and then throw in a slice of Lime. Voila. Mango Mojito. You can obviously change the ratio of Rum to Sprite. Eitherway it’s tastey.

DIY Rotisserie Chicken/Cornish Hen

Rostisserie
Rostisserie
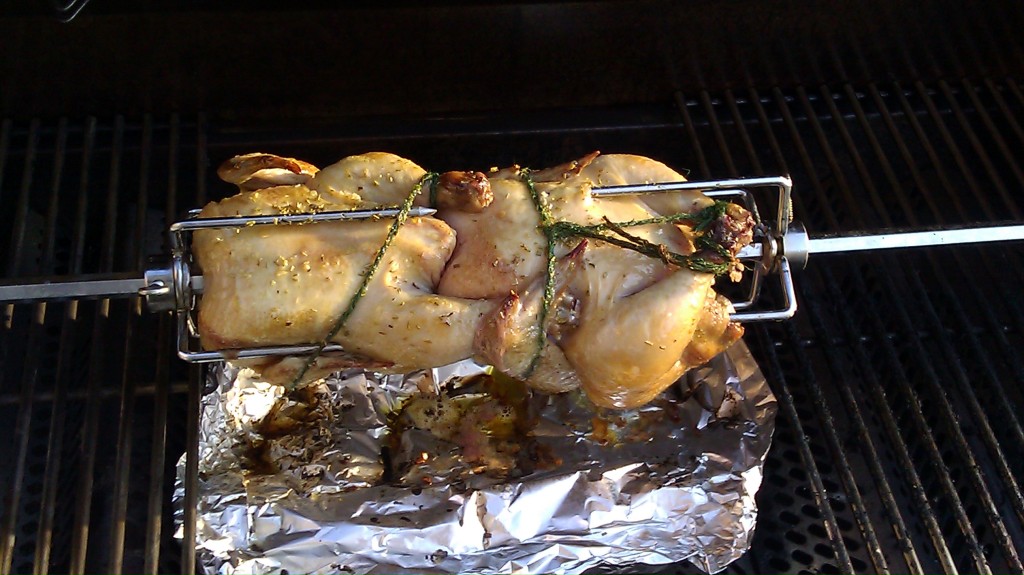
Rotisserie Chicken... Yummm

My personal Recipe for Rotisserie Chicken. I personally use Cornish Hen because they are smaller/easier to handle. I also dont want tons of leftovers.

Things you need:

  • 2 Cornish Hens
  • Butter (doesnt matter what kind really) and a ceramic/porcelain bowl
  • Rosemary
  • Garlic or Garlic Salt
  • Rotisserie
  • Basting Brush
  • some sort of string that you can tie the legs and wings together (otherwise they flop all over)

I love my grill, and if you want a top of the line grill without going overboard, get an American Outdoor Grill (AOG). They are made by the same company who makes FIRE MAGIC, which is in the high end grill range. I will dedicate a review specifically when I get to it.

First you want to fire up the grill to heat it up. One thing I noticed is when grilling in the dead of winter with snow, things take FOREVER to cook. Didnt think it would matter since I would have the grill cover down, but… yep it matters. Eitherway, it is nice if you have a back burner for the rotisserie, but if you dont have one and just have a regular burner, that should be fine, as long as you get the  temperature up to around 350-400 degF.

You will need to make the basting/marinade. I just use about half a stick of butter, place it in the bowl, place the rosemary and garlic salt in. Set the bowl in the grill as well (off to the side not on a direct flame). This melts the butter nicely.

Now wash up the hens nicely/thaw them out. Stick them on the rotisserie spit and tie the legs and wings together so they do not flop around as discussed earlier. Once the grill is up to heat, mount the spit on the rotisserie motor and let it roll. Take the butter/rosemary/garlic salt mix and start basting the hen every 5-10 min. This thing will smell amazing, and be so tender when it is done.

So how long should you cook this for? Well in the dead of winter, I’ve noted cooking times as long as 1-2 hrs. Not sure if it really should take that long, but it was definitely cooked and was not dried out at all. During the spring/summer it seems 40 min is sufficient. I obviously would always make sure the meat is cooked through before eating.

Once all and done, eat up and share with friends:)


DIY Gyro Meat with Tzatziki Sauce Recipe

DIY Gyro Meat with Tzatziki Sauce Recipe

Recipe from http://www.foodnetwork.com/recipes/alton-brown/gyro-meat-with-tzatziki-s…
Cook Time: 1 hr 15 min
Level: Intermediate
Yield: 6 to 8 servings

Ingredients

* 1 medium onion, finely chopped or shredded
* 2 pounds ground lamb
* 1 tablespoon finely minced garlic
* 1 tablespoon dried marjoram
* 1 tablespoon dried ground rosemary
* 2 teaspoons kosher salt
* 1/2 teaspoon freshly ground black pepper
* Tzatziki Sauce, recipe follows

Directions

Process the onion in a food processor for 10 to 15 seconds and turn out into the center of a tea towel. Gather up the ends of the towel and squeeze until almost all of the juice is removed. Discard juice.

Return the onion to the food processor and add the lamb, garlic, marjoram, rosemary, salt, and pepper and process until it is a fine paste, approximately 1 minute. Stop the processor as needed to scrape down sides of bowl.

To cook in the oven as a meatloaf, proceed as follows:

Preheat the oven to 325 degrees F.

Place the mixture into a loaf pan, making sure to press into the sides of the pan. Place the loaf pan into a water bath and bake for 60 to 75 minutes or until the mixture reaches 165 to 170 degrees F. Remove from the oven and drain off any fat. Place the loaf pan on a cooling rack and place a brick wrapped in aluminum foil directly on the surface of the meat and allow to sit for 15 to 20 minutes, until the internal temperature reaches 175 degrees F. Slice and serve on pita bread with tzatziki sauce, chopped onion, tomatoes and feta cheese.

To cook on a rotisserie, proceed as follows:

Form the meat mixture into a loaf shape and place on top of 2 overlapping pieces of plastic wrap that are at least 18 inches long. Roll the mixture in the plastic wrap tightly, making sure to remove any air pockets. Once the meat is completely rolled in the wrap, twist the ends of the plastic wrap until the surface of the wrap is tight. Store in the refrigerator for at least 2 hours or up to overnight, to allow the mixture to firm up.

Preheat the grill to high.

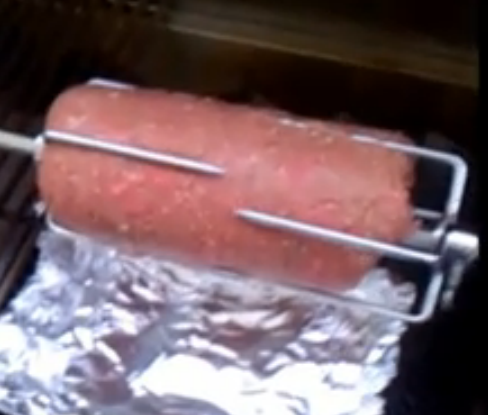
Place the meat onto the rotisserie skewer. Place a double-thick piece of aluminum foil folded into a tray directly under the meat to catch any drippings. Cook on high for 15 minutes. Decrease the heat to medium and continue to cook for another 20 to 30 minutes or until the internal temperature of the meat reaches 165 degrees F. Turn off the heat and allow to continue to spin for another 10 to 15 minutes or until the internal temperature reaches 175 degrees. Slice and serve on pita bread with tzatziki sauce, chopped onion, tomatoes, and feta cheese.

Tzatziki Sauce:

16 ounces plain yogurt

1 medium cucumber, peeled, seeded, and finely chopped

Pinch kosher salt

4 cloves garlic, finely minced

1 tablespoon olive oil

2 teaspoons red wine vinegar

5 to 6 mint leaves, finely minced

Place the yogurt in a tea towel, gather up the edges, suspend over a bowl, and drain for 2 hours in the refrigerator.

Place the chopped cucumber in a tea towel and squeeze to remove the liquid; discard liquid. In a medium mixing bowl, combine the drained yogurt, cucumber, salt, garlic, olive oil, vinegar, and mint. Serve as a sauce for gyros. Store in the refrigerator in an airtight container for up to a week.

Yield: 1 1/2 cups


Steamed Salmon with Spring Onions and Tsai’s Special Sauce

Steaming the FIsh
Steaming
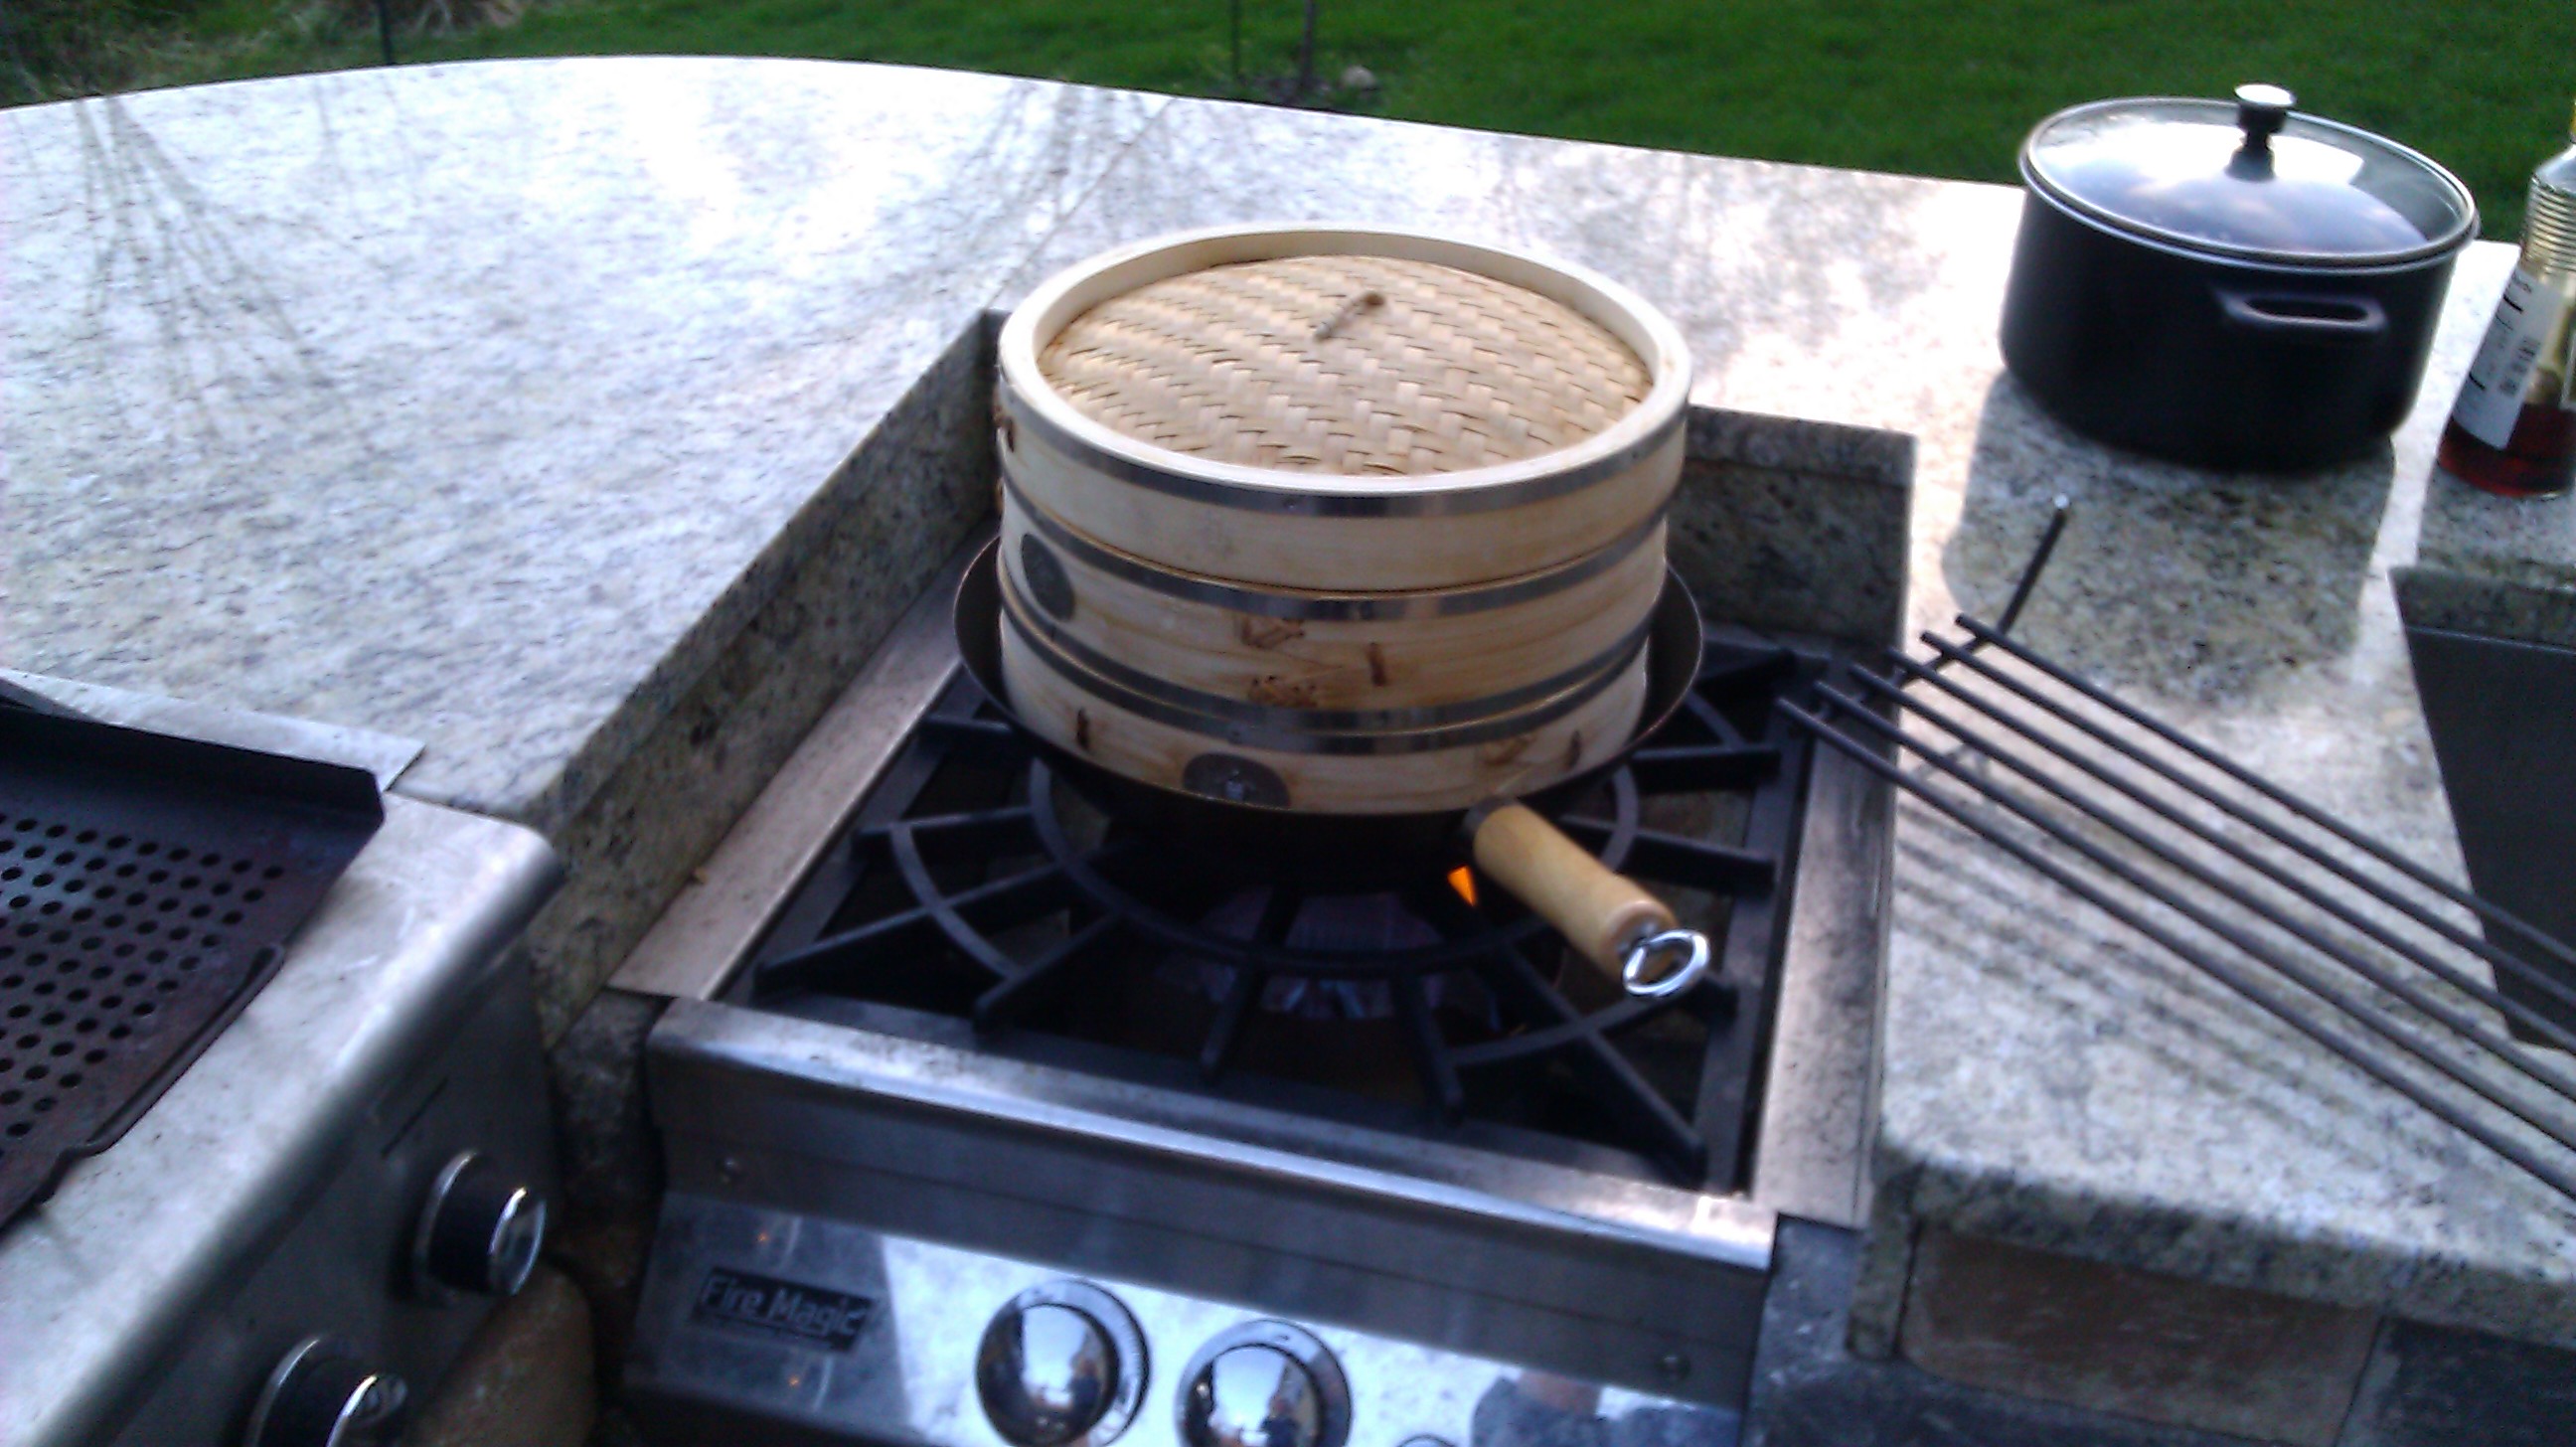
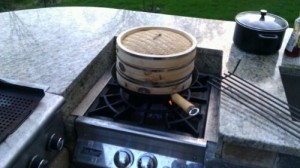
Steaming on the Power Burner


Salmon
Fresh Salmon

This recipe was inspired from:

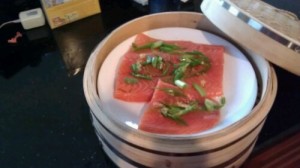
  • First you take some fresh salmon, clean it up real good like a gangsta.
  • Throw some salt on it
  • Cut up some spring/green onions length wise and sprinkle it along the salmon
  • Let the salmon sit in the fridge for about 20 min (you dont want it to get all nasty on you)
Salmon in Steamer
Ready to Steam

Then you want to steam the fish, but there are multiple ways to do this. You do not need a power burner, or an outdoor kitchen to do this, but it’s just so much more fun. The fish will take about 20-30 minutes to steam. While that is gett’n goin, you will want to prep the special sauce. Now I can not really take any credit for this at all, but I did take some liberty in how this is made.

The Sauce:

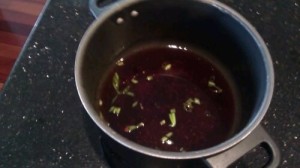
The Special Sauce
The Special Sauce
  • take some fresh garlic, about 3-4 cloves, dice them up and throw them in a small pot to boil
  • cut some ginger in discs, sqaures, strips, doesnt matter. I always am at a shortage of giner, so I just use ginger powder (good enough). How much? meh… trow in a tsp or so.
  • throw in some brown sugar, about 3-5 tbl spoons
  • add 3/4 cup to 1 cup light soy sauce
  • add 3/4-1 cup of cooking wine (sometimes I use Soju or Sake)
  • get about 2-3 tsp of seasamie oil and heat it over an open flame to get it nice and toasty, then add it into the sauce concoction.
  • continue to hear the mix until it boils a bit, then you are good to go. you can play around with amount of ingredients.


Now the fish and sauce shold be ready. You want to be careful with the fish, as there will be a lot of water sloshing around. Try to drain some if possible. However you do it, just be careful because it is HOT.

Pour the sauce over the fish and serve. Goes great with some stir fried spinach and rice. yummmmmmmmm.

Funnel Cake

Homemade Funnel Cake
Homemade Funnel Cake, Picture by Alex Tsai
Yummy Funnelcake. I like.

The Picture may be a little fuzzy, but the funny cake was delicious!

This is my second attempt at making homemade funnelcake, and it worked out better the second time. This was done the day after thanksgiving, and I had a lot of leftover peanut oil (already passed down from my friend, Ed Lee, who also fried his turkeys for turkeyday). Suffice it to say, there was a hint of Turkey flavor, but alas it was yum.

Recipe was obtained from Allrecipes.com

http://allrecipes.com/Recipe/funnel-cakes/detail.aspx


Prep Time: 10 Minutes
Cook Time: 10 Minutes
Ready In: 20 Minutes
Servings: 8
INGREDIENTS:
8 cups vegetable oil for frying
1 1/2 cups milk
2 eggs
2 cups all-purpose flour
1 teaspoon baking powder
1/2 teaspoon ground cinnamon
1/2 teaspoon salt
3/4 cup confectioners’ sugar
DIRECTIONS:
1. In a deep-fryer, or heavy skillet, heat oil to 375 degrees F (190 degrees C).
2. In a large bowl, beat milk and eggs together. Combine flour, baking powder, cinnamon and salt. Stir into the egg mixture until smooth.
3. While covering the funnel hole with one hand, pour in 1 cup of batter. Start from the center in a swirling motion to make a 6 or 7 inch round. Fry on both sides until golden brown. Remove and drain on paper towels. Sprinkle with confectioners’ sugar and serve warm.